1. Prevents Water Damage:
- Structural Integrity: Water can weaken the structural components of a building over time, leading to cracks, rust, and erosion. Waterproofing helps maintain the integrity of your home’s foundation, walls, and roof.
- Protects Against Moisture Penetration: Water infiltration can damage paint, wallpaper, wood, and other materials, causing unsightly stains, warping, and rotting.
2. Prevents Mold and Mildew Growth:
- Health Risks: Excess moisture promotes the growth of mold and mildew, which can lead to health problems, including allergies, respiratory issues, and asthma. Waterproofing helps prevent moisture buildup, reducing the risk of mold.
- Preserving Indoor Air Quality: By controlling moisture levels, waterproofing improves the air quality inside your home and prevents musty odors.
3. Improves Energy Efficiency:
- Insulation: Waterproofing materials often have insulating properties that help regulate the temperature inside your home. This reduces the need for heating and cooling, improving energy efficiency and lowering utility bills.
4. Protects Foundations and Basements:
- Prevents Foundation Cracks: Water infiltration into the foundation can lead to cracks and settling, which may compromise the safety of your home. Waterproofing ensures that water does not seep into the foundation, extending its lifespan.
- Basement Protection: Basements are particularly vulnerable to flooding and water damage. Waterproofing helps protect the basement from moisture, preventing potential flooding and the growth of harmful mold.
5. Increases Property Value:
- Preserves Property: Homes that are waterproofed are better protected from water-related damage, which can otherwise lead to costly repairs and decrease the property’s value.
- Appealing to Buyers: A home that is waterproofed offers long-term protection, making it more attractive to potential buyers who are concerned about water-related issues.
Importance of Waterproofing Materials
Barriers provide essential protection and act as an envelope for building/structure from the harm’s way as water can cause significant damages. Here are some important types of waterproofing materials commonly used:
1. Cementitious Waterproofing:
Especially useful for placing in such zones of the apartment as a bathroom, a kitchen, and a basement.
Non-slippery and convenient to install since no experience is needed to perform the application procedures in addition to the fact that they incurs minimal costs.
Offers protection against moisture and is most often applied for secondary applications only.
2. Bituminous Waterproofing:
Most often used in construction projects that have roof and basement facilities.
Accomplishes effective water barrier that has the capacity to offer long-lasting cover for the walls.
It is marketed in liquid form or as sheets of bituminous membrane.
3. Polyurethane Waterproofing:
Highly flexible and durable.
It is applied where there is likely to be movement who is applied on terraces and roofs.
To give excellent adhesion and has the capacity to withstand the effects of weathering.
4. EPDM Rubber Membrane:
A synthetic rubber material widely used in a construction of flat roofs and other foundations.
Provides long term waterproofing and is immune to the effects of U.V. and Ozone rays.
5.Acrylic Waterproofing:
A polymer membrane that covers a roof and its other external surfaces and is normally derived from liquid.
It can be applied for UV resistance and is moderately easy to work with to form a rather non-dull flexible skin like finish.
6.Silicone-Based Waterproofing:
Applied on the surfaces of hollow masonry practices such as brickwork and Stonework.
Resists water and is suitable for use where moisture resistance is desired particularly for exterior walls.
7.Liquid Applied Membranes:
More commonly employed to elaborate parts where standard sheets can be employed.
The material that is used forms an Open-Cell Foamed structure that forms a flexible water barrier.
Steps for Waterproofing Services
Waterproofing a property involves several important steps to ensure effective protection against water damage. Here’s a general guide to the steps involved:
1. Assessment and Inspection:
- Identify problem areas: Check for cracks, leaks, damp spots, or signs of moisture accumulation in areas like basements, walls, and roofs.
- Determine the cause: Understand whether the moisture is coming from external sources (like rain) or internal sources (like plumbing leaks).
- Plan the waterproofing solution: Based on the type of water problem, choose the appropriate waterproofing material and method.
2. Preparation of Surfaces:
- Clean the surfaces: Remove dirt, dust, and debris from the areas that will be waterproofed.
- Repair cracks and holes: Fill any visible cracks or gaps in walls, floors, or ceilings using sealants or fillers.
- Ensure proper drainage: Make sure that the area where waterproofing will take place is sloped away from walls and foundations to avoid water accumulation.
3. Choosing the Waterproofing Material:
- Select the right material: Depending on the surface (walls, floors, roofs, foundations) and the severity of water exposure, choose a suitable waterproofing material like cementitious, bituminous, polyurethane, or silicone-based membranes.
4. Application of Waterproofing Material:
- Apply primer (if needed): Some waterproofing materials require a primer to ensure better adhesion to the surface.
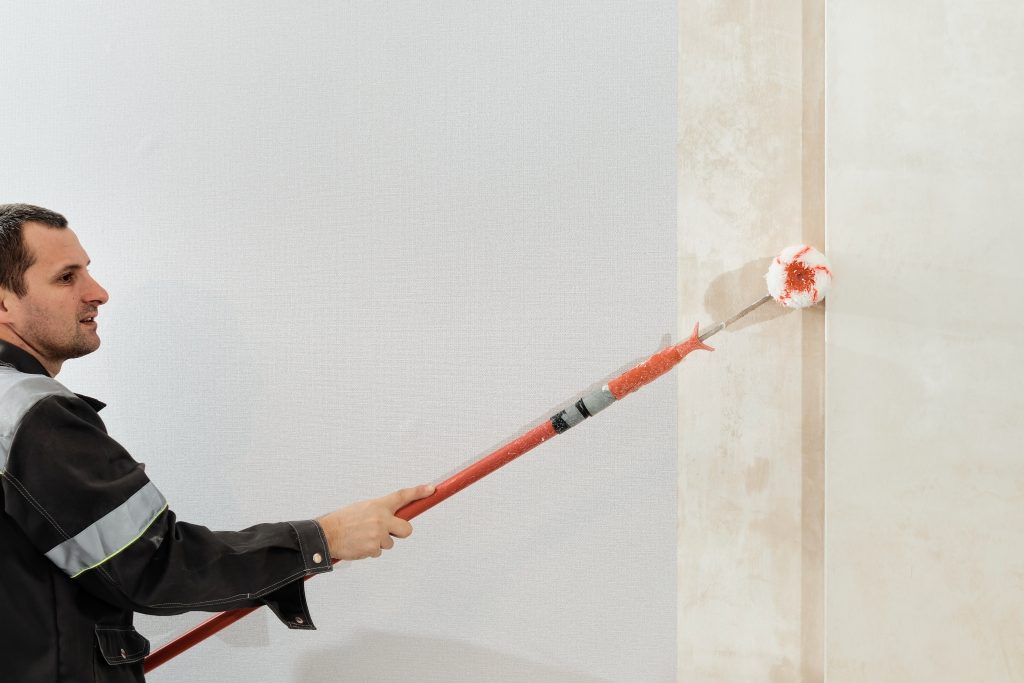
- Coat the surface: Apply the chosen waterproofing material evenly using a brush, roller, or spray. For membranes or sheets, carefully lay them over the surface and smooth out any air bubbles or wrinkles.
- Multiple layers: In many cases, multiple layers of the waterproofing material are needed for effective protection. Allow each layer to dry before applying the next.
5. Sealing Joints and Edges:
- Seal edges and joints: Pay special attention to areas like corners, joints, and around pipes. Use sealants or specialized waterproof tape to ensure these vulnerable areas are fully sealed.
6. Allow Drying Time:
- Curing time: Allow the waterproofing layers to cure or dry completely as per the manufacturer’s instructions. This ensures the material bonds well with the surface and becomes fully effective.
7. Testing for Effectiveness:
- Check for leaks: Once the material is fully dry, perform a water test by spraying water over the treated area and checking for any leaks or dampness.
- Make adjustments if necessary: If any leaks are detected, apply additional layers or sealant in the affected areas.
8. Maintenance and Inspection:
- Regular inspection: Check periodically for any signs of damage or wear in the waterproofing layer, especially in high-risk areas.
- Maintenance: Address any cracks, mold, or deterioration of the waterproofing material quickly to prevent further damage.


